Power Surfacing RE Videos

  • See more tutorials on YouTube
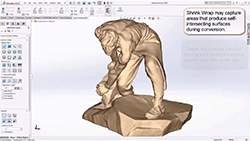
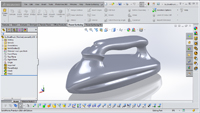
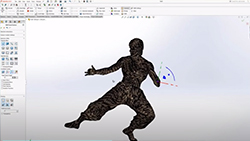
  • How to Convert ZBrush meshes to SOLIDWORKS using the Power Surfacing RE add-in (using ZBrush Remesher)

    This video shows how to use the ZBrush remesher to reduce the total number of surfaces when converting a mesh to SOLIDWORKS® using the Power Surfacing add-in

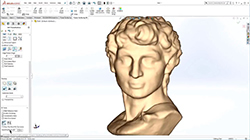
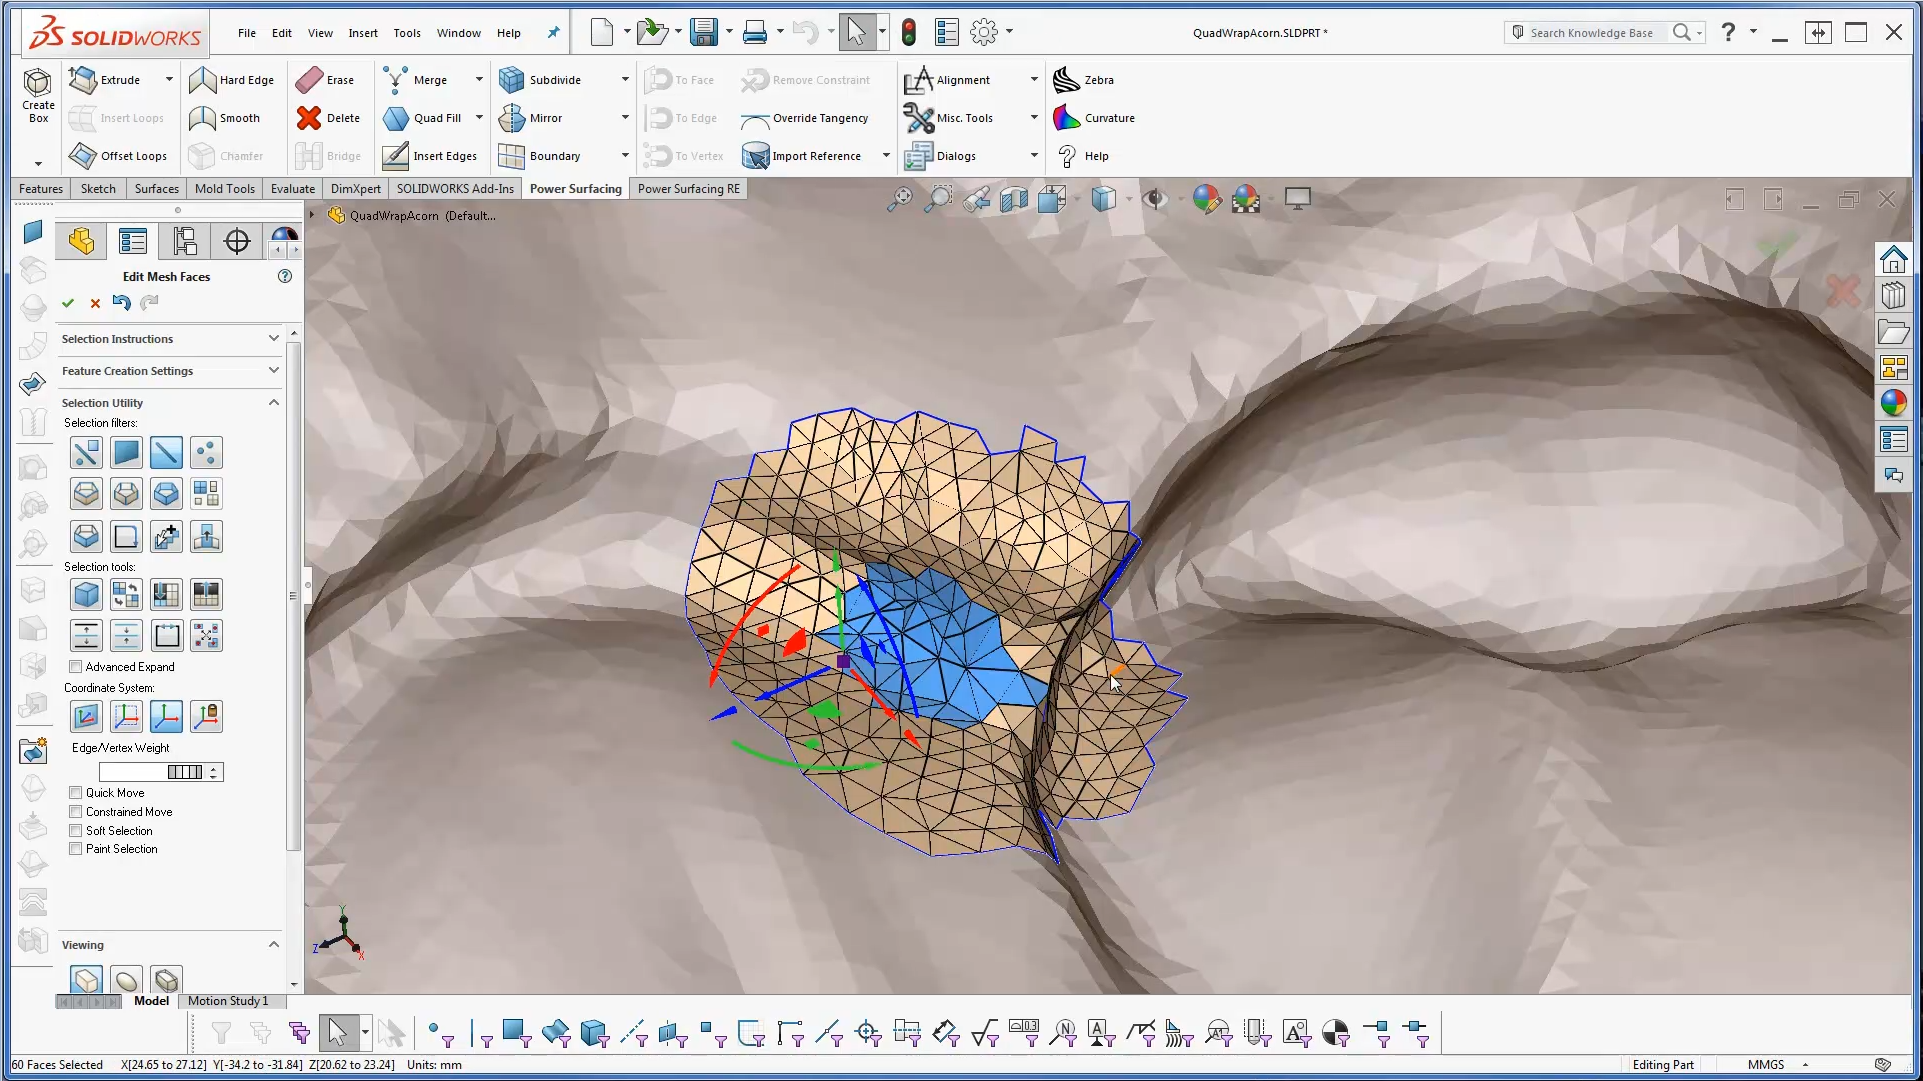
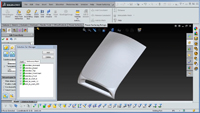
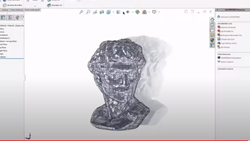
    Converting ZBrush meshes to SOLIDWORKS® using the Power Surfacing RE add-in (Standard conversion)

    This video shows the standard conversion method to convert ZBrush meshes to SOLIDWORKS® using the Power Surfacing RE add-in

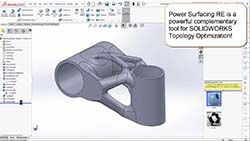
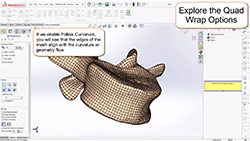
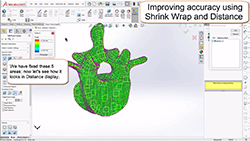
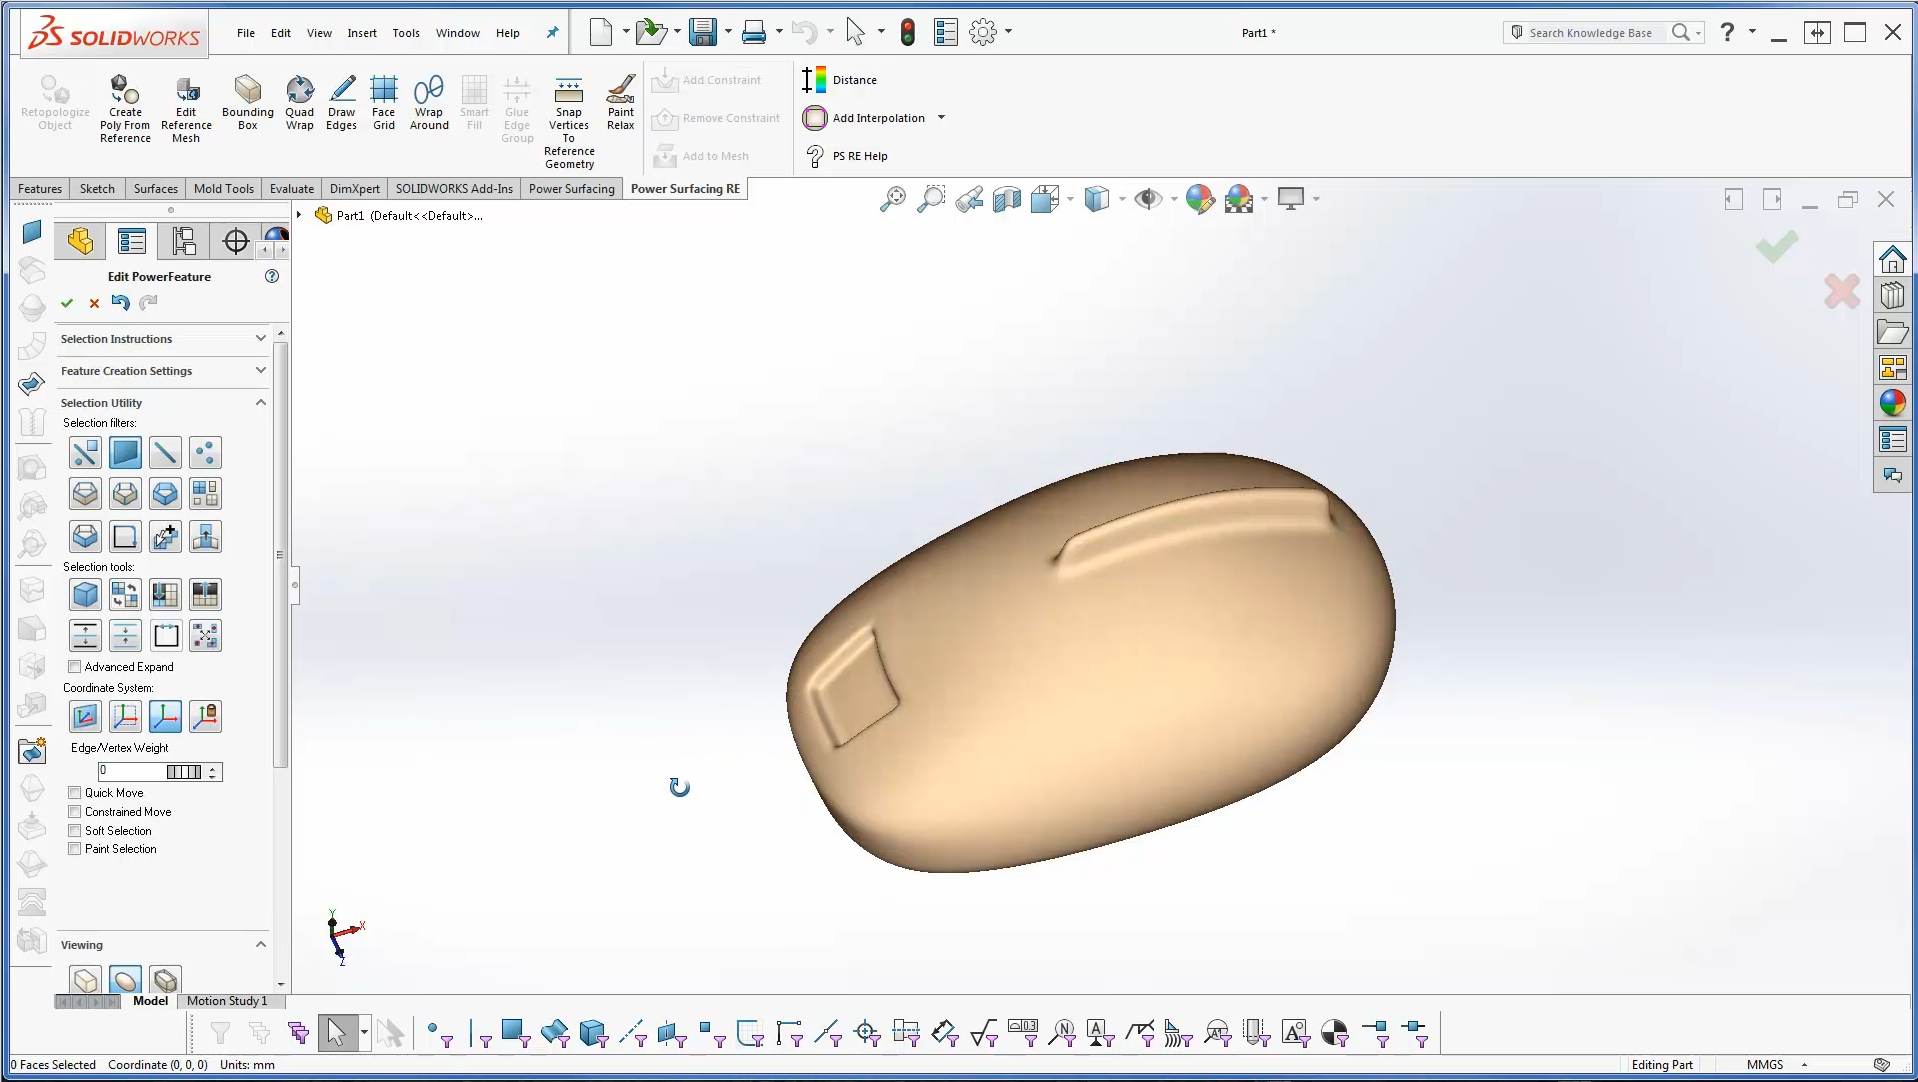
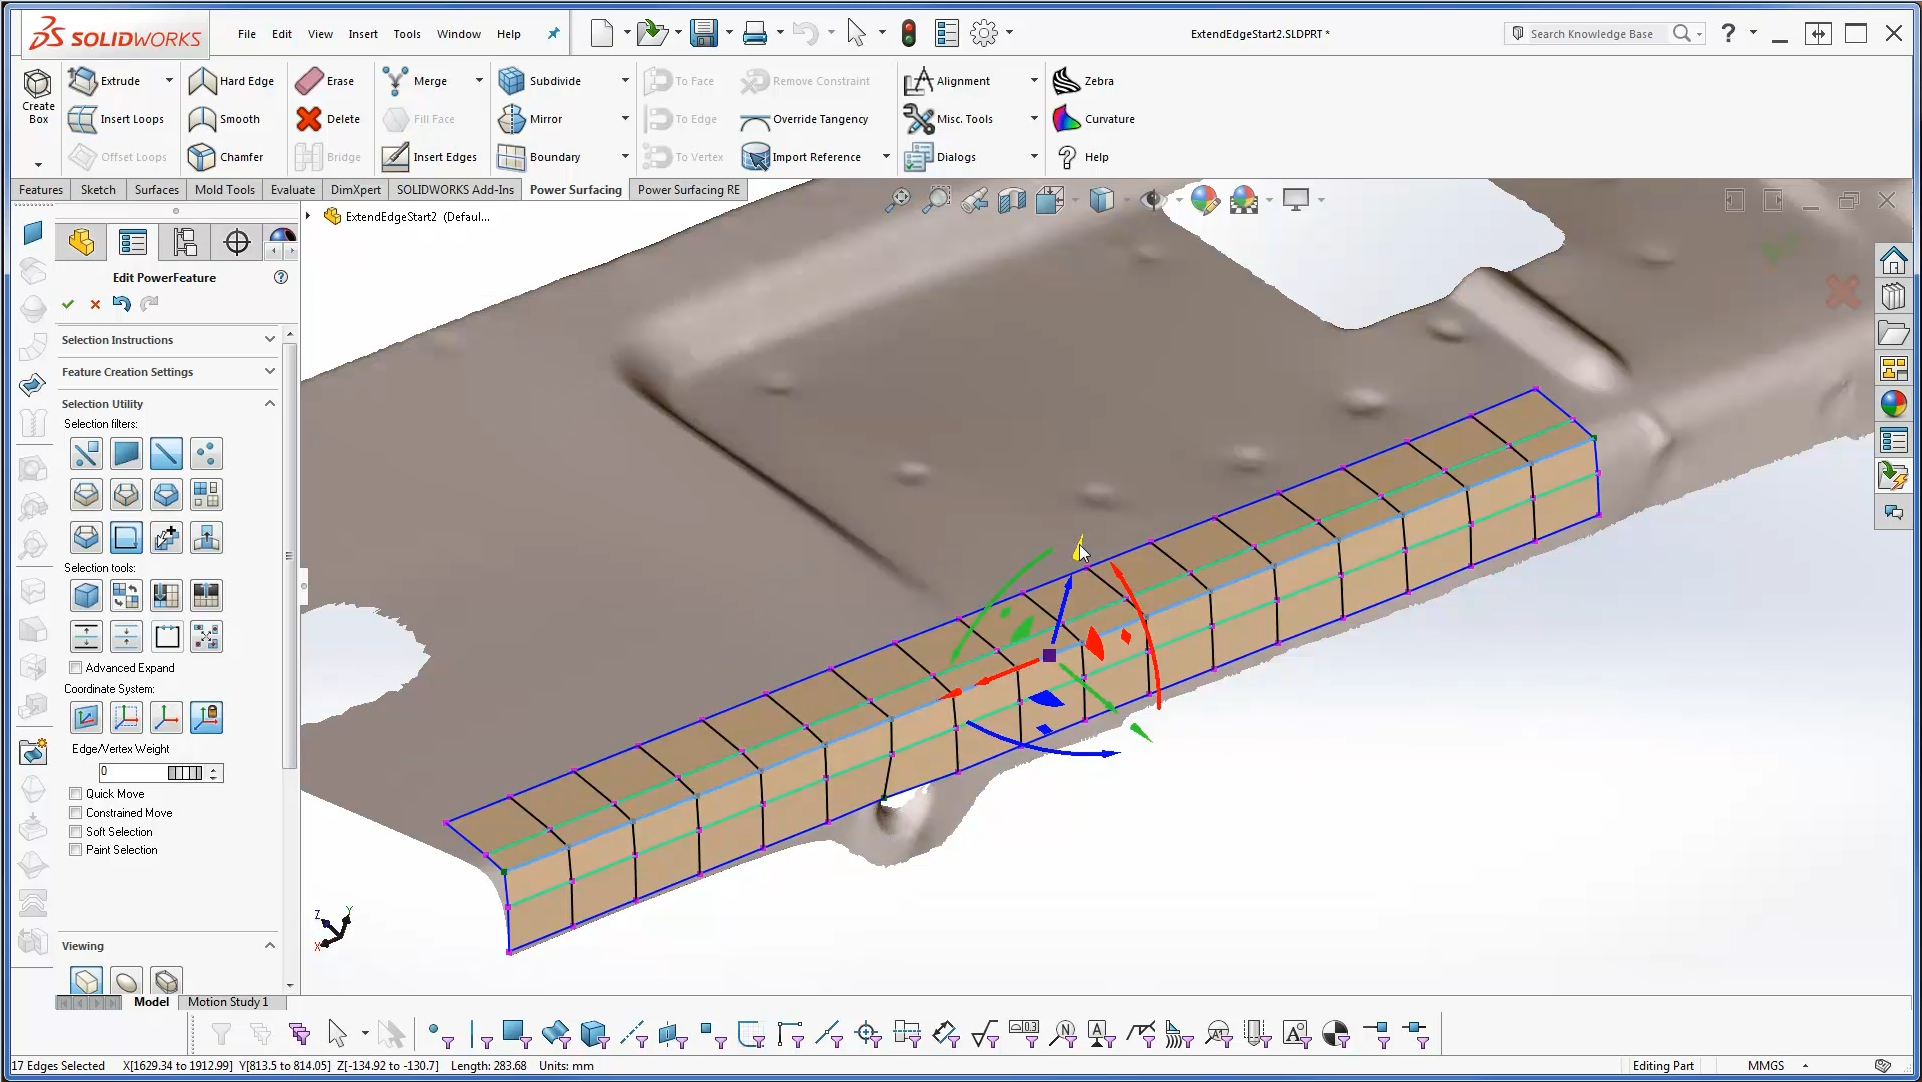
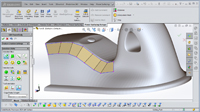
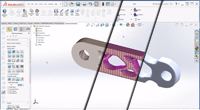
    Reverse Engineering a Scanned Mesh with the Power Surfacing add-in for SOLIDWORKS®

    This video shows two different methods for Reverse Engineering scanned meshes with the Power Surfacing add-in.

    Power Surfacing RE 5.0 Videos

    Basic Reverse Engineering

    This video demonstrates how to use the Power Surfacing RE tools to turn a mesh into SOLIDWORKS surfaces / solids. It demonstrates the basic workflow, and how to use that workflow to get a good result.

    RE Marketing Video

    This video is an overview of the Power Surfacing RE industry leading reverse engineering functionality. Shows how RE leads in both mesh complexity and capturing fine surface detail.

    Working with Topology Study Meshes

    This video shows the RE tools used to reverse engineer a topology study mesh created by the SOLIDWORKS Topology Optimization tool.

    Reverse Engineering Real World Scans

    This video shows how to deal with many of the common problems found in real world scanned meshes.

    Quad Wrap Options

    Explore the options for the Quad Wrap tool which does automatic retopologizing of scanned or sculpted meshes..

    Increasing Accuracy

    This video demonstrates measure and increase the accuracy of the resulting object using Shrink Wrap and Distance display..

    Power Surfacing RE 4.1 Videos

    Shrink Wrap options

    This video shows you how to use the Shrink Wrap options in Power Surfacing RE (Reverse Engineering). Shrink Wrap creates a SubD mesh around the reference (scanned or other) mesh in order to retopologize it into a form that it can convert into NURBS (for use in SolidWorks). The options give you control over that process to provide more flexibility in editing the mesh after the Shrink Wrap.

    New feature in version 4.1

    Repairing the Mesh

    This video demonstrates some of the tools that you can use to repair and clean up the mesh. Scanned meshes usually have imperfections from the scanning process. In order to get an accurate conversion into solids / surfaces, the mesh needs to be repaired so that those imperfections aren't passed through (to the resulting solids / surfaces). There are new selection and editing tools to simplify the process of selecting problem areas and repairing them.

    New feature in version 4.1

    Bridging for fillets

    This video demonstrate a workflow for dealing with fillets in scanned meshes. Usually, you will want to extend the faces to make an intersection edge for the two faces, and apply an accurate SolidWorks fillet along that edge (instead of an approximated scan conversion). This video shows that process of extending the edges and bridging between the two faces to form an edge that can be filleted.

    New feature in version 4.1

    asf

    Getting Started with RE

    This video shows you how to get started using Power Surfacing RE (Reverse Engineering). It shows how to import a reference mesh and control the display of the reference mesh and the corresponding Sub-D mesh you are using to retopologize it. Also shown is an overview of the new tools available with Power Surfacing RE.

    Recorded using Power Surfacing RE Beta 1.0

    asdf

    Preparing the Mesh

    This video demonstrates setting up a reference mesh from a SolidWorks body. Meshes often have holes and sharp boundary edges. Selection sets and patching help you work with the mesh and get it prepared for the retopologizing process.

    Recorded using Power Surfacing RE Beta 1.0.

    asdf

    Utilizing the Interpolate Command

    This video demonstrate a workflow for utilizing the Interpolate command to increase the accuracy of the subdivided object prior to conversion. It also shows how the Interpolate command is utilized when adding detail to the object that is not constrained to the reference mesh.

    Recorded using Power Surfacing RE Beta 1.0